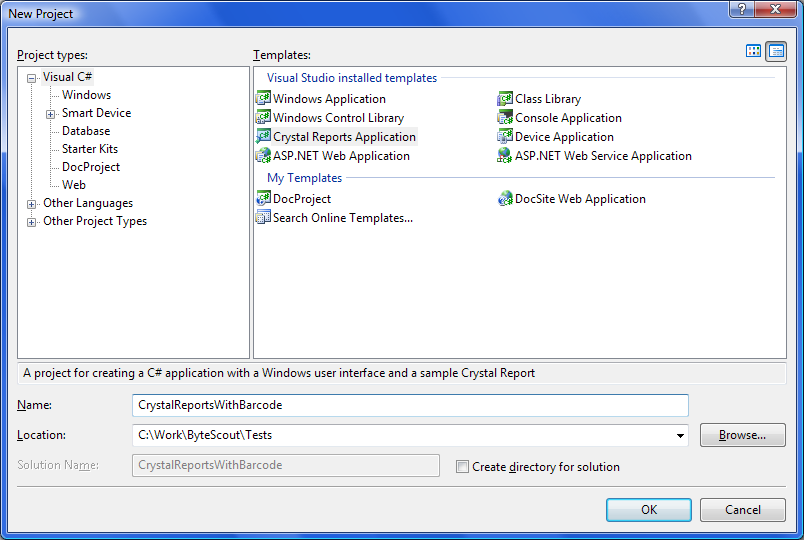
Create new Crystal Reports Application by using the menu: File | New | Project..
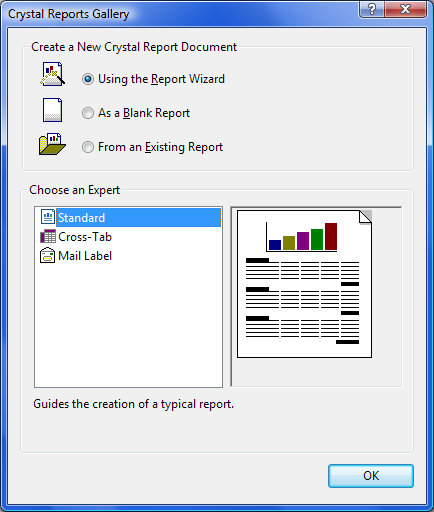
Crystal Reports Gallery window will appear, select Standard Expert type and click OK
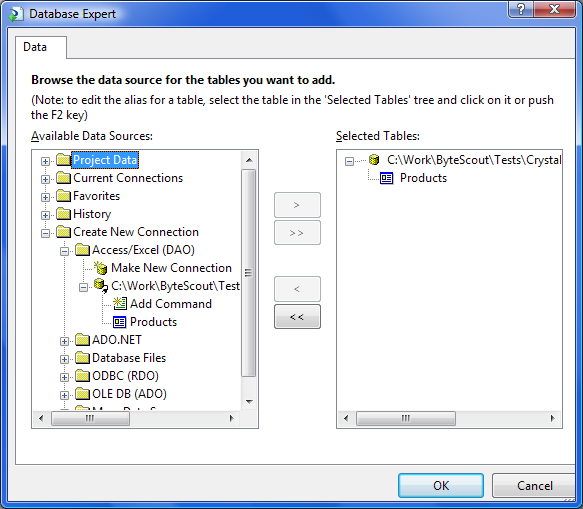
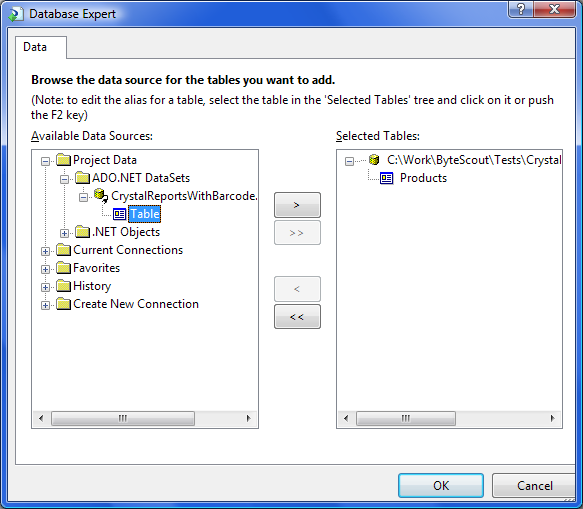
Then the Wizard will ask to choose the data source for the report. You can use your own data source or use the data source provided with this sample (products.mdb) as shown on the screenshot below.
In next screen you will be suggested to choose fields from the table to use in the report. Choose Products.ProductName and Products.ProductDescription field
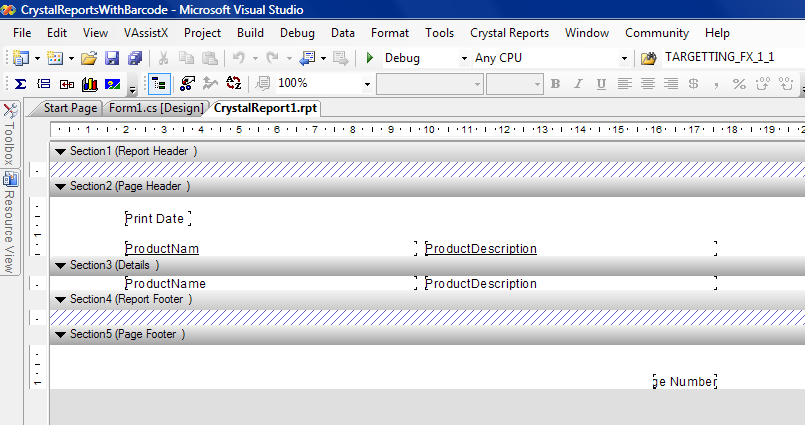
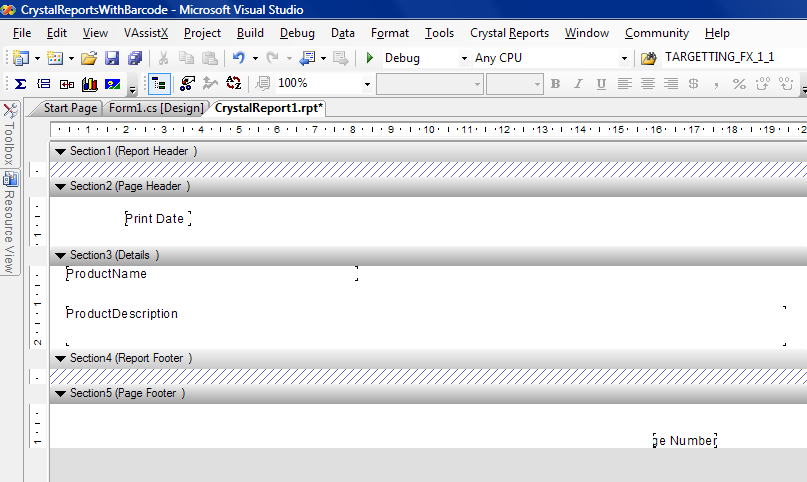
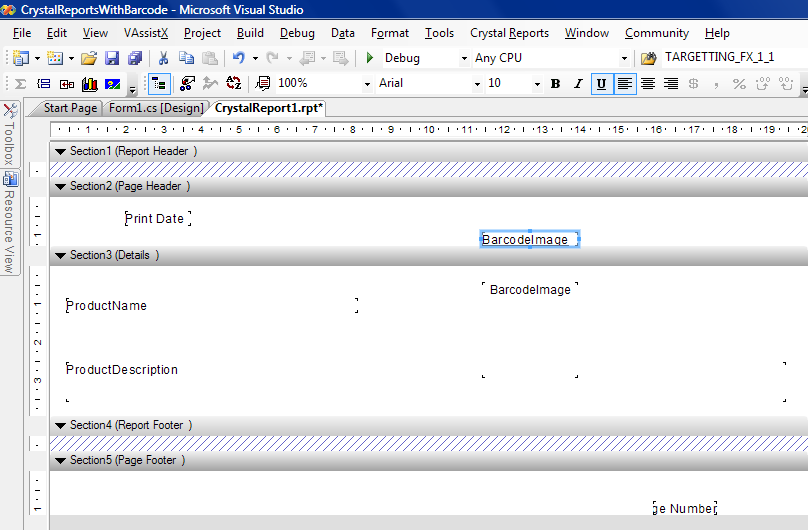
Now report designer window will appear. Move automatically generated elements if needed:
Now we need to create a dataset to bind the data from the query and the barcode generation component
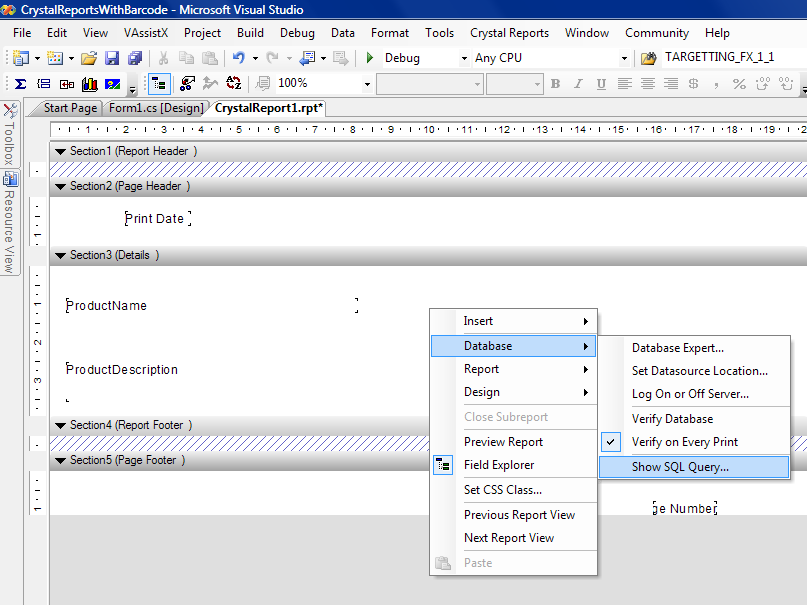
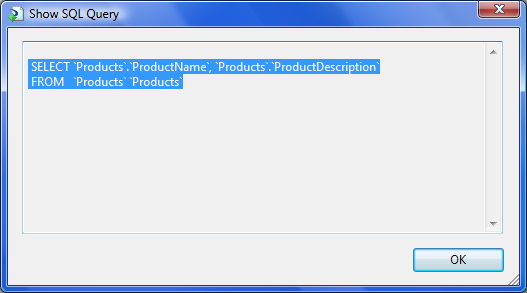
To show SQL Query used for the data query please right-click in the report designer and use Database -> Show SQL Query.. command from the menu:
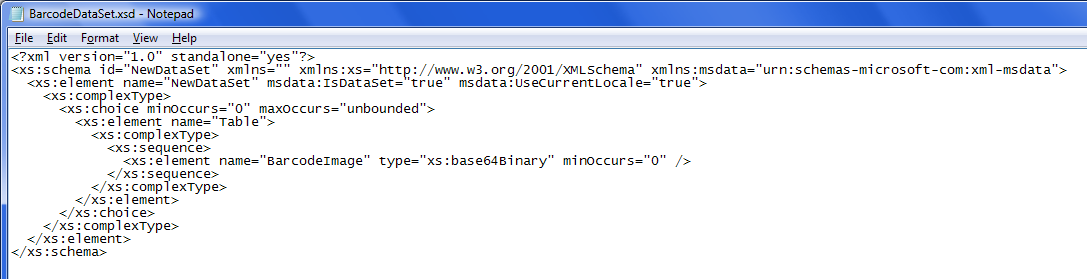
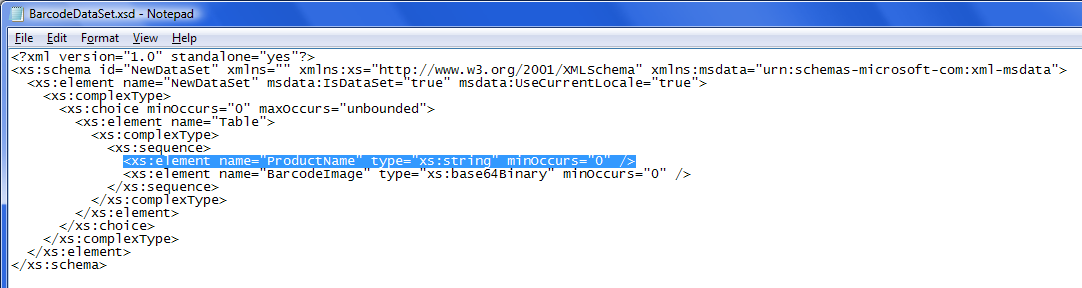
Now we will create the dataset which will bind data from the query and barcode generation component. Copy BarcodeDataSet.xsd (provided with this example) into the project folder and open this file in the editor (in Notepad or Visual Studio editor):
We need to bind virtual data set and data we have already added to the report. If we want to bind data using ProductName string field then we should add the following child element :
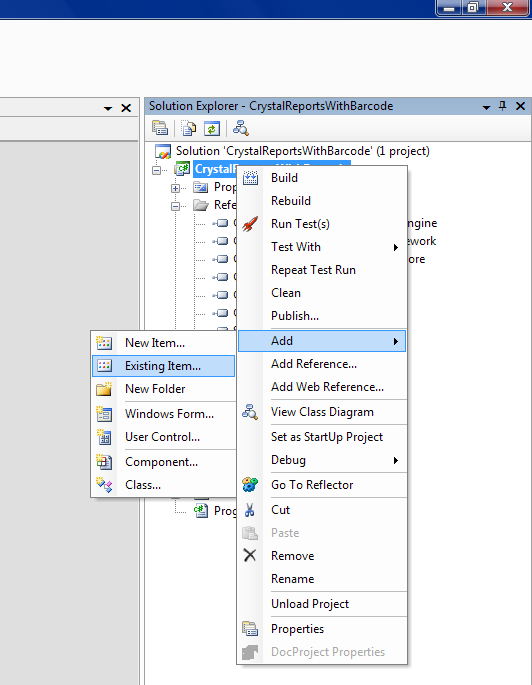
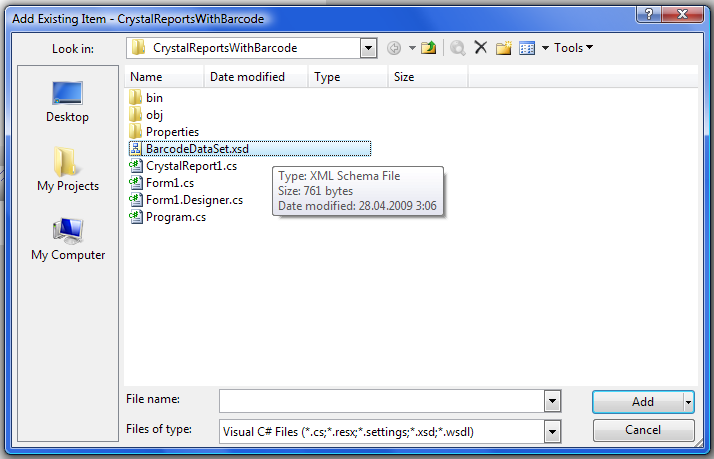
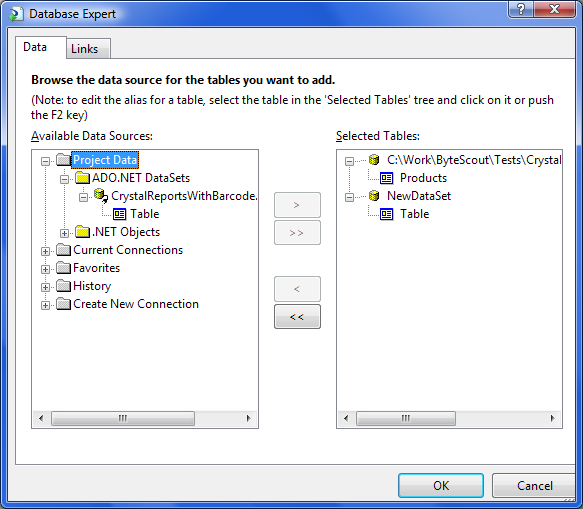
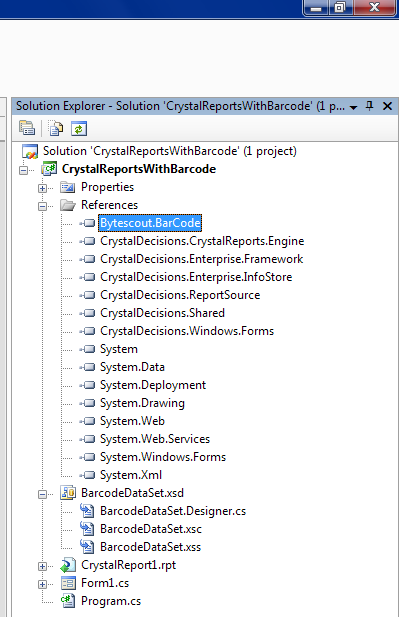
Now we need to add virtual dataset (BarcodeDataSet.xsd) into our project.
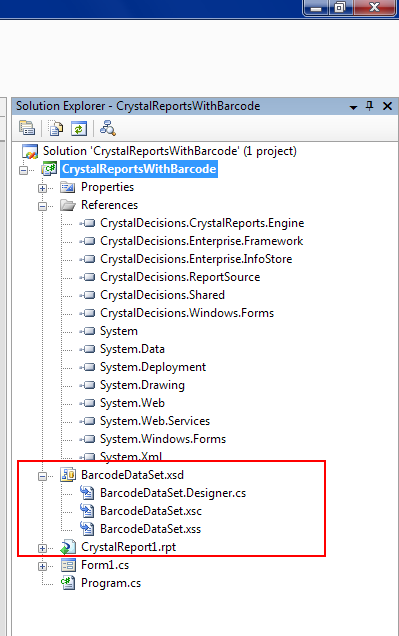
Visual Studio will add BarcodeDataSet.xsd into the project and you’ll see BarcodeDataSet.xsd in the Solution Explorer in the project:
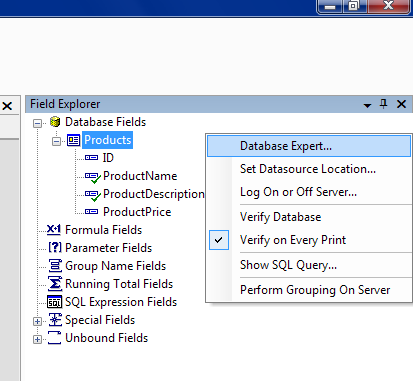
Switch to Field Explorer in Visual Studio, right click and click Database Expert command to call Database Expert:
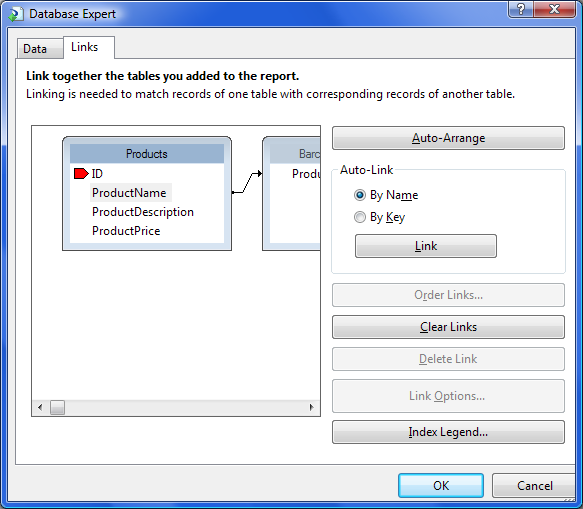
We don’t need to change anything as data is already linked (as you see can see the arrow links ProductName to the table) and we need to click OK
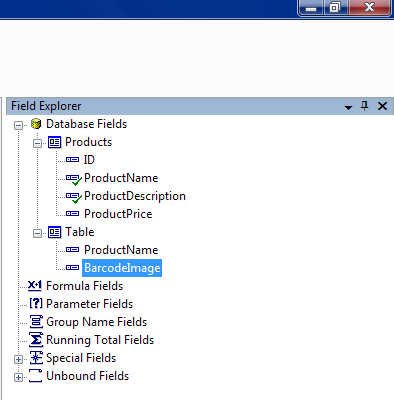
Now we need to place a placeholder for the barcode image. Switch to Field Explorer and expand Database Fields and then select Table element
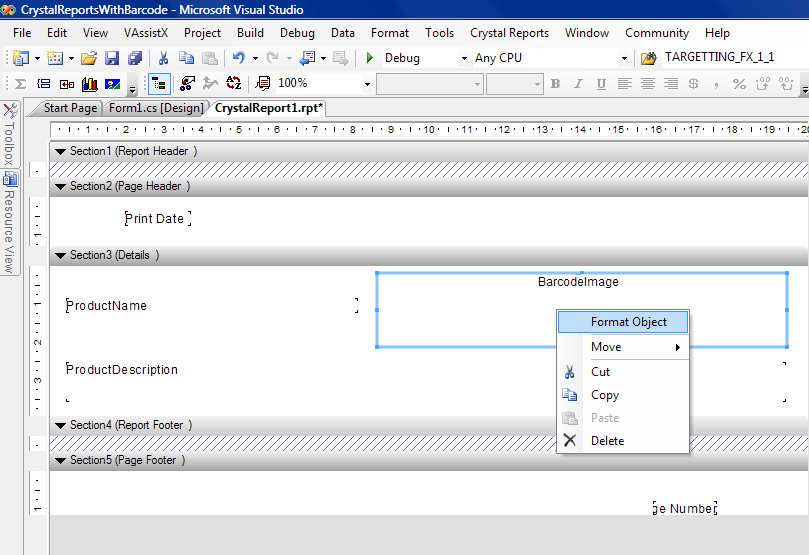
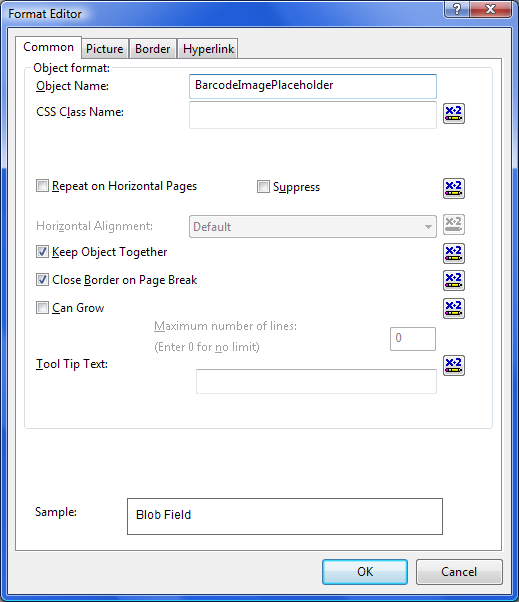
Drop the element into the report. Change the size and the position of the BarcodeImage element:
Format Editor dialog will appear.
Now we should add the code to generate barcode image by generating barcode images using Bytescout BarCode SDK.
This code will be called on report load event and will provide the generated barcode image as the byte array
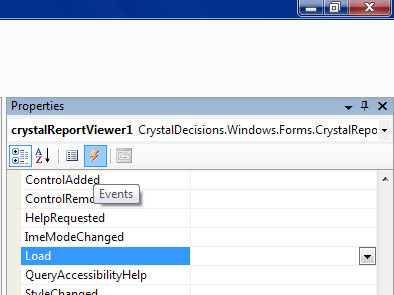
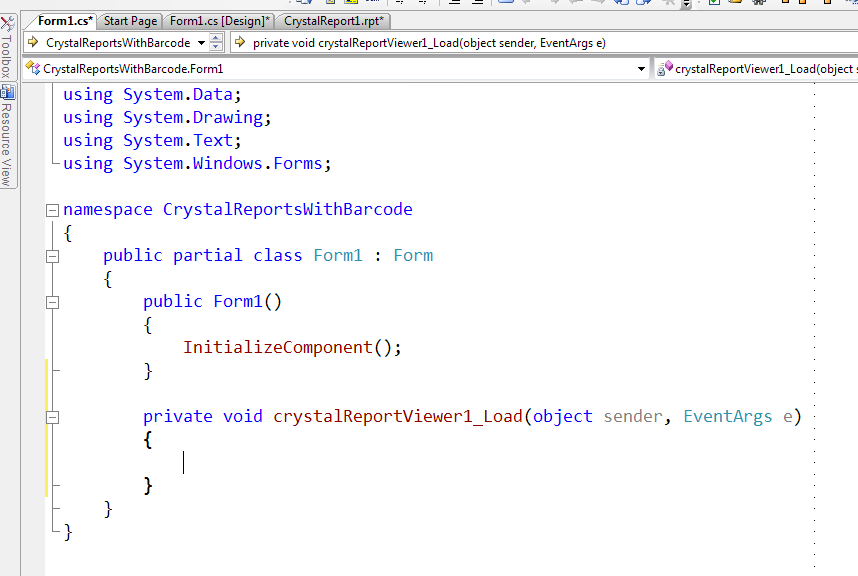
Select Form1 and switch to Design mode for the form. Then select crystalReportViewer1 object in the list of available objects on the form in Properties panel:
Visual C# sample code:
private void crystalReportViewer1_Load(object sender, EventArgs e)
{
// create (duplicate) connection for report fields
// we use OleDbConnection to the sample Access database
// you should create your connection yourselves
OleDbConnection aConnection = new OleDbConnection(“Provider=Microsoft.Jet.OLEDB.4.0;Data Source=C: /CrystalReportsWithBarcode/products.mdb”);
aConnection.Open();
// use SQL query you previously remembered
OleDbDataAdapter dataAdapter = new OleDbDataAdapter(“SELECT `Products`.`ProductName`, `Products`.`ProductDescription` FROM `Products` `Products`”, aConnection);
// fill dataset
DataSet ds = new DataSet();
dataAdapter.Fill(ds);
// add virtual field that will be used for generated barcode data
ds.Tables[0].Columns.Add(new DataColumn(“BarcodeImage”, typeof(byte[])));
// don’t forget to close the connection
aConnection.Close();
// create barcode object
Barcode bc = new Barcode(SymbologyType.Code128);
bc.DrawCaption = false;
bc.NarrowBarWidth = 1;
bc.WideToNarrowRatio = 2;
foreach (DataRow dr in ds.Tables[0].Rows)
{
// set barcode object’s Value property to a value of a field
// you want to be used for barcode creation
// we use 5 first symbols of product name
bc.Value = (dr[“ProductName”] as string).Substring(0, 5);
// retrieve generated image bytes
byte[] barcodeBytes = bc.GetImageBytesPNG();
// fill virtual field with generated image bytes
dr[“BarcodeImage”] = barcodeBytes;
}
// attach data source to virtual table
CrystalReport11.Database.Tables[“Table”].SetDataSource(ds);
}
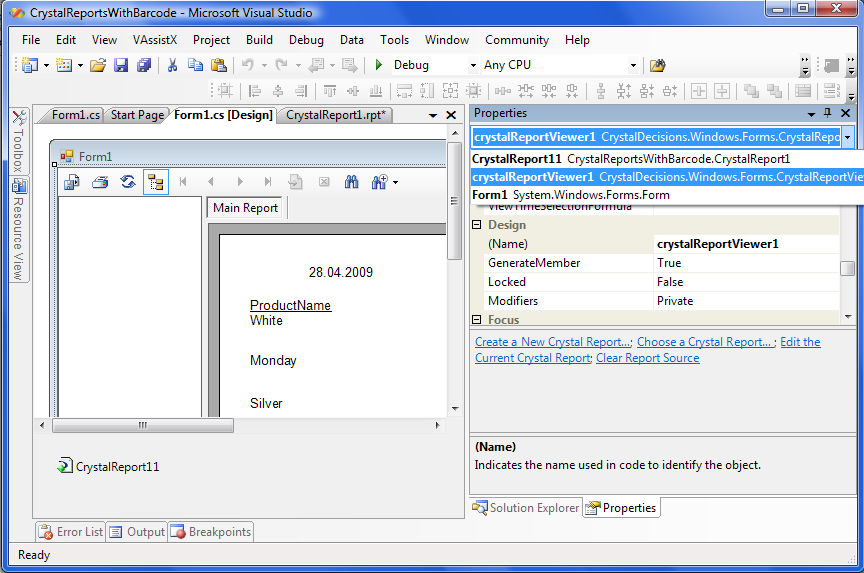
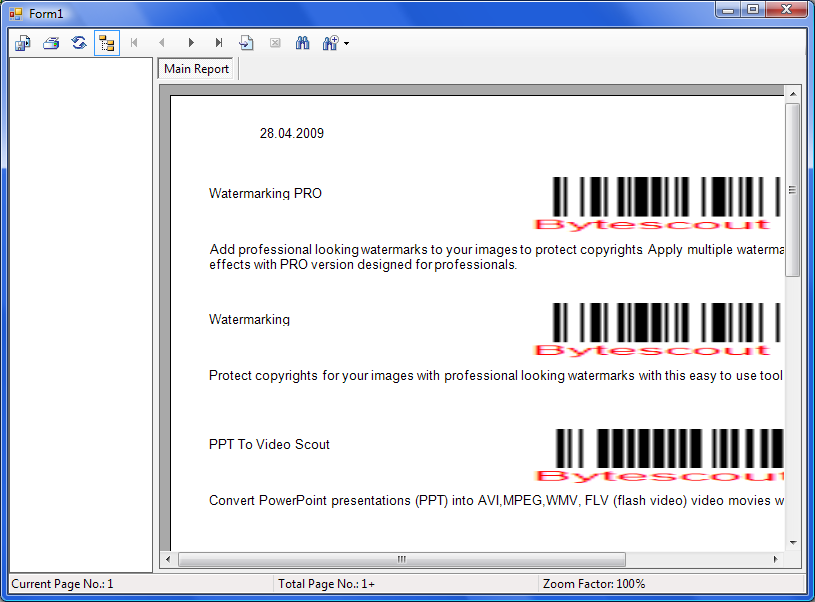
Now run the application and you’ll see the report with barcode images in the report:
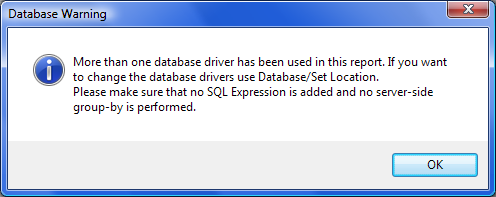
Solution to “Database Login” dialog appearing and asking to enter login and passsword:
1) Click “Explore Folder” and find “BinDebug” folder and open Products.mdb file
2) Copy Products.mdb into C: drive
3) Then open CrystalReportsWithBarcode.sln solution in Visual Studio 2005
4) In the Solution Explorer find and double-click CrystalReport1.rpt file
This will show report design mode.
5) Right-click anyway on the report and select Database -> Verify Database.. in the menu
6) Database Source dialog will appear. Click “Browse…” button and locate c:Products.mdb file
7) Click Finish button. Visual Studio will display “The database is up to date” message
8) Finally, run the project by click Run button on the toolbar in Visual Studio or F5 button
Windows Vista note: you may need to copy into c:UsersYourUserNameDesktop instead of c: folder on step (2)